Backsplash on a Budget
Living in an apartment doesn't leave many options for painting or adding any permanent fixtures. I decided to get a little creative in adding some personality to my beige kitchen (see the beige to beauty theme here?). I have this great area where I put my wine and cocktail glasses and some pasta jars and I thought this was the perfect small area to start. I just had to figure out what to do with it...
I got inspired when I went to Michael's to pick up some stuff for another craft (more on that later) and saw small packages of glass tile. I loved the colours and decided to make a mobile backsplash that wouldn't need to be glued to the wall at all. I purchased three packages of it using a 40% off coupon that you can find online by searching "Michael's printable coupons". This whole project only cost me in and around $20 dollars. The packages of tile were $3.40 with tax and with the 40% coupon, I kept the cost down to a minimum. I got lucky one day when they also had a 25% sale too! I used about 10 packages of the tile (may have been nine).
Materials:
I decided as a backing for the tile to go on to, I would use a piece of form board that I purchased at the dollar store for $2 because it would be solid enough to hold the tile and would stand up on its own. I traced an outline of how large roughly the area I wanted to put tile on would be and cut it out. I started putting down the tiles in a pattern, but the colours of the tiles weren't consistent in each bag so I just tried my best to keep it varied.
I got inspired when I went to Michael's to pick up some stuff for another craft (more on that later) and saw small packages of glass tile. I loved the colours and decided to make a mobile backsplash that wouldn't need to be glued to the wall at all. I purchased three packages of it using a 40% off coupon that you can find online by searching "Michael's printable coupons". This whole project only cost me in and around $20 dollars. The packages of tile were $3.40 with tax and with the 40% coupon, I kept the cost down to a minimum. I got lucky one day when they also had a 25% sale too! I used about 10 packages of the tile (may have been nine).
Materials:
- Foam Board
- 10 tile packages (this varies depending on the size of the area)
- Glue gun
- That's it!
I decided as a backing for the tile to go on to, I would use a piece of form board that I purchased at the dollar store for $2 because it would be solid enough to hold the tile and would stand up on its own. I traced an outline of how large roughly the area I wanted to put tile on would be and cut it out. I started putting down the tiles in a pattern, but the colours of the tiles weren't consistent in each bag so I just tried my best to keep it varied.
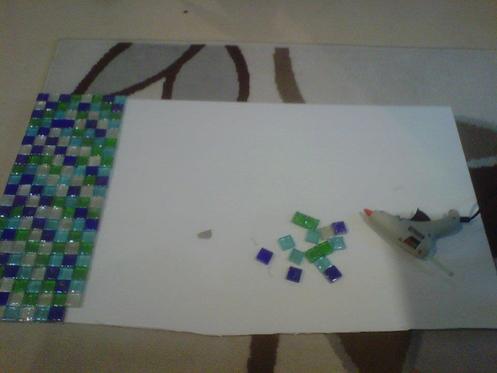
This took quite a while since I needed to glue down each piece individually, but I think it was totally worth it!
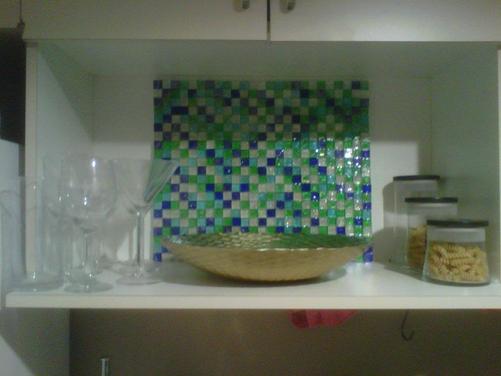
The finished product! The only thing I would change would be to make it bigger! Maybe one day....
